
If you are a car enthusiast one of the easiest ways to make your car stand out from the crowd, to give it that exclusive look, is by adding a tint to your headlights. In this article we will discuss the best ways to tint headlights (and possibly taillights as well) to achieve a catchy and stylish look.
Headlight tints come in a plethora of colors and shades, including yellow, green, blue, red, smoke, and everything in between. There are also many different types of tinting products, including tints that can be sprayed on and tints that are transparent vinyl overlays. Selecting the right tinting product for your headlights can get pretty confusing very quickly.
Vinyl Wrap or Spray Tint: Which to Choose?
For most owners, it all boils down to ease of removal. If they decide that the project didn’t turn out to their liking, how easy is it to remove the tint and start over. For this project, removing the film tint is easier. Removing a spray tint will require more effort and the use of chemicals that could possibly damage the finish on other parts of your car.
The Pros and Cons of Headlight Tinting
Pros
- Protects the lights from scratches and chips
- Protects from UV ray and temperature damage
- Inhibits lens yellowing
- May enhance visibility (yellow tints on fog lights can improve visibility in bad weather)
Cons
- Too dark a tint can hurt visibility after dark
- Tinting headlights may be illegal in your locale
- A poor quality installation can hurt the overall appearance of your vehicle
Applying a Film Tint: Step by Step
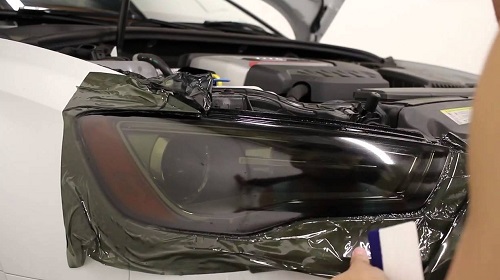
Step #1: Disassemble the headlight assembly. Care must be taken and it is best to follow the instructions for dismounting the headlight in your particular vehicle’s repair manual.
Step #2: Clean the headlight lens. If the lens isn’t free of dirt and grime, the vinyl tint won’t adhere evenly. Simply use soap and water then dry the lens with a microfiber towel. Finish by wiping the lens with rubbing alcohol. (Note: if the lens is still foggy-looking, you may want to use a headlight restoration kit to make the plastic clear before applying the tinting film.)
Step #3: It is important to follow the directions that came with the tinting product you have chosen. Pre-cut kits are available that will fit your specific vehicle model or you can purchase a full sheet and hand trim it to fit using an exacto knife .
Step #4: Remove the backing of the tint film and lightly mist both the vinyl sheet and the headlight lens. The water will allow you to make easier adjustments to the film’s position as you apply it to the lens.
Step #5: Align the film on the lens starting with the flattest area of the lens. Then gently work the film into position on the curved edges.
Step #6: Gently push out any water or air bubbles that remain trapped under the film. By wetting the side of the film facing you and then using a squeegee, the excess water and air bubbles can be worked out. You can use a heat gun (on a low heat setting 190°-200°) or a hair dryer to smooth out the curved surfaces or any other areas that are difficult to reach and address.
Step #7: Carefully trim any excess film. Even if you opted to purchase a kit specifically made for your vehicle, some trimming may be necessary. Once completed, leave the lens to dry before re-installing it in the headlight assembly.
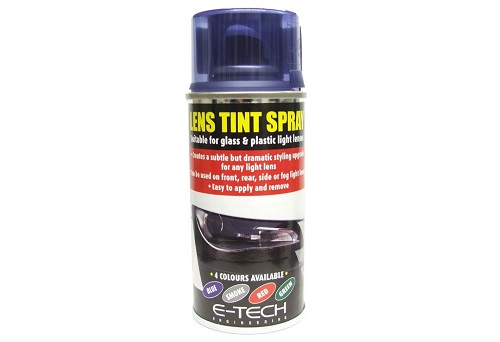
Applying Tint With a Spray: Step by Step
Step #1: Disassemble the headlight assembly as you would when applying a film tint.
Step #2: Clean the headlight lens, using the same method as above.
Step #3: Read the instructions on the spray tint and make sure that it is for headlights. Wear a disposable mask to avoid inhaling any fumes.
Step #4: Cover anything that you don’t want to spray. Masking tape or painter’s tape works well for this.
Step #5: Work with only one lens at a time and spray a thin, even coat. Keep the spray can about one foot away from the lens and spray with a side-to-side motion. Be patient when it comes to the darkness of the tint, as it will darken as the spray dries. If more than one coat is required, wait at least 15 minutes between coats.
Step #6: Apply a clear coat to protect the tint from scratches, the affect of UV rays, or chipping. Leave the lens to dry for at least 12 hours, or preferably overnight before reassembling the headlight assembly.
Great YouTube Videos on Tinting Headlights
For Applying Vinyl Tint:
For Applying Spray Tints: