The moist, humid air that passes across your car’s A/C evaporator coils allows dust, dirt, and other pollutants to collect on them. Recent studies have found that it is common for the air inside your car can be up to ten times more polluted than the outside air outside. This is why the A/C evaporator coils need to be cleaned on a regular basis. In this article we will discuss how to clean your car’s A/C evaporator coils without having to remove the unit from the vehicle.
Why Does the Evaporator Need Periodic Cleaning?
As your car’s A/C unit operates, the evaporator creates a damp environment. Besides attracting dust, dirt, and pollen, and build up on the coils, bacteria and mold may also be present. Both of these organisms thrive under these dark, damp conditions. For your health and welfare, and that of your passengers, every so often you should clean the A/C evaporator coils.
Tools Required
Screwdriver
Spray Bottle filled with Water
A/C Evaporator Cleaning Product (nextzett, DWD2, Kool-It, and Nu-Calgon all make great evaporator cleaners)
Basic Steps to Clean the Evaporator Without Removing It
Step 1: Place a Catch Pan Under the Evaporator Discharge Line
The discharge line is located under the vehicle. This is where the condensed water is released during A/C operation. The dirty cleaning solution and water will be rinsed out here.
Step 2: Remove Your vehicle’s Glove Box
Removing the glove box should allow you to access the evaporator coil. The glove box can be removed in different ways depending on the model of vehicle you own. Sometimes you can compress both sides of the glove box, which will release it and allow it to slide it out. On some models there may be screws holding the glove box in place. There may also be an electrical cable that provides power to a light inside the glove box, so be aware of that possibility.
Step 3: Access the Evaporator Coil
The evaporator coil is attached to the vehicle’s firewall (the firewall separates the engine compartment from the passenger compartment). There are three ways of doing this.
The simplest way is to remove the blower fan assembly. Unplug the electrical terminal attached to the blower motor and undo the screws holding the blower motor in place.
A second way to access the evaporator is to remove the resistor block. If the A/C system has been running before beginning this process, allow a few minutes for the resistor block to cool Disconnect the negative battery cable first, then remove the screws holding the block.
The final way should only be done as a last resort. And that is to drill a small hole (3/8 of an inch) between the blower fan and the evaporator case. Care should be taken not to damage other parts of the system.
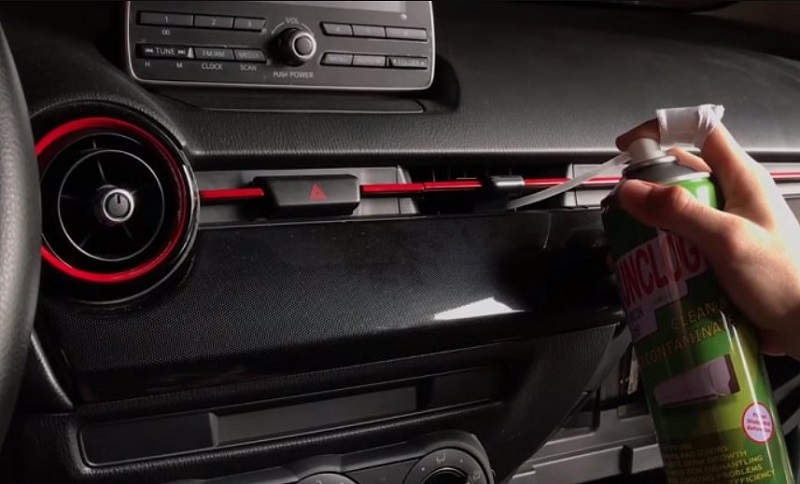
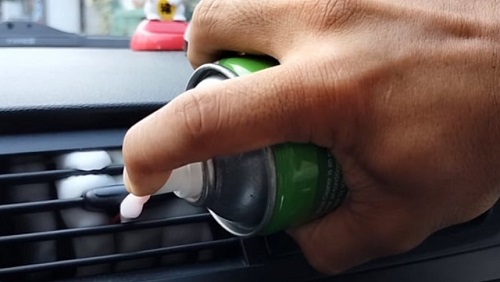
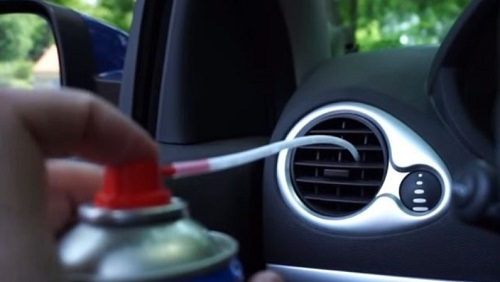
Step 3: Spray the Cleaner onto the Coil Through the Access Point
The evaporator cleaner is a foam-based product. Attach the small hose that came with the cleaner and push it through the access point. Liberally apply the cleaner to the evaporator. Allow the cleaner to do its magic for at least thirty minutes. The foam will liquefy and run out the drain opening.
Step 4: Rinse and Dry the Evaporator Coil
Using a spray bottle of water, lightly rinse the coil. After rinsing, use a hairdryer or condensed/compressed air to dry the coil.
Step 5: Reassemble
Replace the resistor block or blower fan that you may have removed. Reinsert the glove box and the cleaning is complete.
Conclusion
There is no need to take your car to a professional to clean the A/C evaporator coils. This is a simple DIY project that can be completed in a short amount of time. If you feel that watching a video could be helpful, this is a good one to watch: