
Your goal may be to have a perfectly spotless car. One of the biggest challenges before you is your car’s interior plastic. How is the best way to tackle cleaning all of the plastic components that are found throughout your vehicle? It’s going to take more than just a few minutes and to keep things in tip-top shape and you are going to have to address this cleaning on a monthly basis to maintain that new car look. Here’s how to get started.
Start With the Dust and Loose Debris

A vacuum cleaner becomes your best friend. Start by vacuuming up as much of the dust and dirt as you can, paying close attention to al of the interior plastic. That includes the trim around the doorstep guards (an area that constantly get stepped on when entering or exiting), the plastic around the console, the seat belt buckles, the dashboard, and the door columns. And while you’re in there, you might as well vacuum the seats, carpet, and floor mats.
Cleaning With Detailing Products
To begin with, you are going to need a series of different brushes: softer boars hair brushes, a scrub brush with a handle, a toothbrush for those narrow grooves, and a heavy-duty scrub brush to loosen any ground-in dirt. You will also need several microfiber cloths to wipe up the dirt and cleaning products that you use.
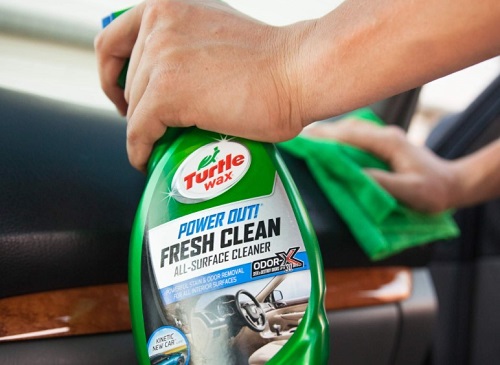
There are a number of cleaning products specifically designed to work on a vehicle’s interior plastic. Because of the beating that interior plastic surfaces take from ordinary dust and dirt, along with oxidation from sunlight, you will get the best results when you use an automotive plastic restorer product. A plastic restorer will not only clean the plastic surfaces, it will restore that deep, glossy shine that was there when the vehicle rolled off the assembly line.
Spray, Brush, and Wipe
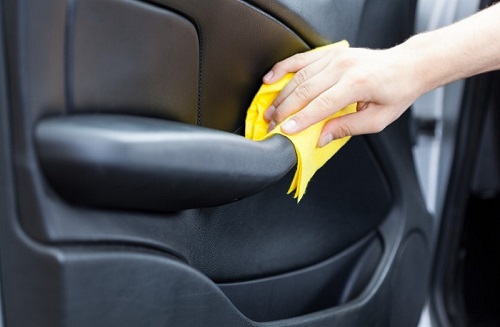
It’s always best to begin the process by cleaning your car’s entry points, the trim around the doors. Spray the cleaning product on the trim and use the appropriate brushes to loosen any dirt. You may have to use a combination of a heavy-duty scrub brush along with the smaller toothbrush or detailing brushes to loosen the dirt. Once loosened, you can wipe away the dirt and cleaning product with a clean microfiber cloth.
For the buttons and grooves on the console or dashboard, the detailing brushes should be used to do the job. You will need to take care when applying the cleaning product to areas where the control buttons are. Instead of spraying the surface with the controls, apply the cleaner to the brush and then brush the area. Follow this up by wiping a clean section of the microfiber cloth.
There are several areas that can easily be overlooked when cleaning a car’s interior plastic. Pay attention to the seat belt buckles, the areas behind the seats where the seats mount to the floor, the inside storage spaces located on the door panels, any pull-out cup holders (front and rear), and the trim around the rear hatch, if you own a SUV.
Using Steam Instead
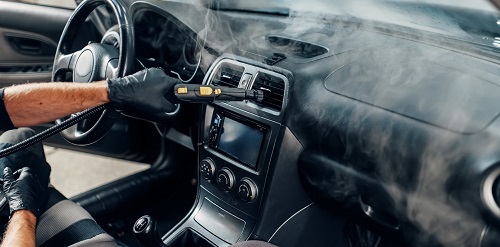
Especially if you are chemically sensitive, you may want to forego the cleaning product and use a steam machine to clean your interior plastic. You will still need the brushes and the microfiber cloths to loosen dirt and then wipe it all away. Apply the steam to the plastic surfaces for several seconds, then brush and wipe. Take care not to use too hot of steam or apply it too long, you don’t want to permanently mar or melt anything.
Apply a Protectant
Whether you use a dedicated detailing product or a steamer, it is important to apply a quality plastic protectant once everything is clean. Doing so will protect the plastic from UV rays, day-to-day wear and tear, and maintain that glossy look you worked so hard to obtain.
Recommended YouTube Video
If you want to watch a great YouTube video on tips to clean your vehicle’s interior plastic, check this video out: